
Vibeservering: Code Anywhere with Claude Code on Your Server
Remember when you had that perfect feature idea at 2am but couldn’t code it because you were away from your dev machine? Or when you spotted a critical bug while out shopping with your girlfriend but had to wait until you got home? Those days are over.
Vibeservering is the practice of installing AI coding assistants like Claude Code directly on your web server so you can build and fix apps from literally anywhere, especially your phone.
What is Vibeservering?
Vibeservering means installing an AI coding assistants CLI like Claude Code or OpenAI Codex on your server and vibecoding directly in the web environment. You can easily do this in your staging environment, or - in non-critical apps - even directly in production.
Instead of: Local development on laptop → Git push → Server deployment → test in browser
You do: SSH into server on mobile → tell Claude Code what to do → verify live change right away
Advantages of Vibeservering
Simple & Fast
- Make change in one environment and verify instantly
- Ship features and fixes the moment you think of them
Mobility
- Code from your phone via SSH apps
- Use any computer with internet
- No more “I’ll fix it when I get home”
How to Vibeserver
It’s super easy to get started. All you need is this:
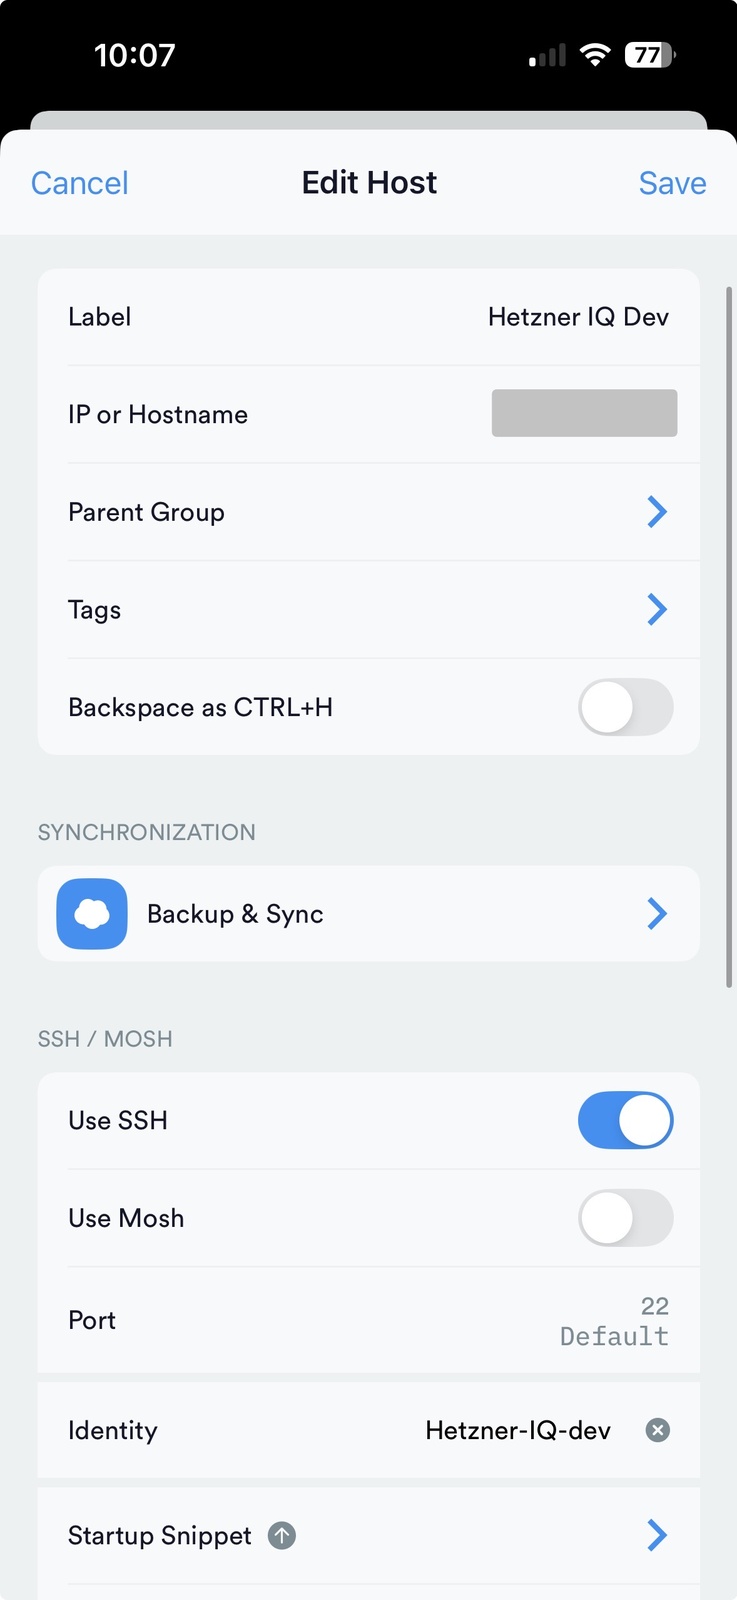
- A web server you can SSH into and install tools like Claude Code on. (I bought a €5 / month Hetzner VPS - read my end-to-end tutorial here)
- Install Claude Code (or similar tools like OpenAI Codex):
curl -fsSL https://docs.claude.com/install.sh | sh - Download the Termius app and set up SSH access
That’s it. You’re ready to vibeserver! Shipping code is now as simple as:
- SSH into server via Termius
- Switch to repo directory:
cd <your repo directory> - Run Claude Code:
claude
How I Vibeserver Indiequery
The majority of Indiequery was vibeservered. We went from a rough idea to a first MVP without ever touching a desktop computer. To make it work, we followed a process to maximize Claude Code performance and speed. Here is how it worked.
1. Write a short and simple change summary
In Apple Notes, write 1-2 paragraphs about the feature, code, and architecture you want to implement. Here’s an example:
I want users to be able to revert their SQL queries back to old runs, ie provide a query history. When a user runs a query, auto-save the current SQL query to the QueryRun object. This way, the Query always holds the most recent SQL query and the QueryRun has a history of each query iteration. The user can choose to revert their current query back to any past QueryRun query state.
We only do this for larger changes. Small bug fixes or investigations don’t need requirements.
2. Claude updates TASK.md
We then instruct Claude to create an execution plan. This way, we have a single file with all relevant context. We can review and modify the plan before and during the implementation. We can also run multiple Claude sessions without losing relevant context.
# Claude prompt
For the following change, create a TASKS.md file with 3 sections: (1) project goal and requirements, (2) step by step breakdown of concrete tasks, (3) implementation principles. Mark tasks as complete when you've implemented them. If requirements change during development, update TASKS.md as needed.
<copy / paste change summary>
The file contains three key sections: 1. Goals and requirements: a summary of what we want changed 2. Task breakdown: the actual work to be done, ie the steps that Claude will follow when we actually code 3. Principles: general values to keep in mind when coding, like “Responsive design: ensure all UIs fit all relevant screen sizes with the appropriate layout”
Claude then creates a file that could look like this:
# Query History Revert Feature Implementation

## Project Goal and Requirements

Implement query history functionality that allows users to revert their SQL queries back to previous versions. This feature will automatically save the current SQL query to the QueryRun object each time a query is executed, creating a history of query iterations. Users can then choose to revert their current query back to any past QueryRun query state.

Key requirements:
- Auto-save current SQL query to QueryRun object on each execution
- Query object always holds the most recent SQL query
- QueryRun objects maintain historical query versions
- UI to browse and revert to previous query states
- Preserve existing query execution functionality

## Step by Step Breakdown

### Phase 1: Database Schema Updates
- [ ] Examine current Query and QueryRun models
- [ ] Add sql_query field to QueryRun model if not present
- [ ] Create and run migration to add the field
- [ ] Ensure proper indexing for query history lookups

### Phase 2: Backend Logic Updates
- [ ] Update query execution logic to save current SQL to QueryRun
- [ ] Modify Query model save method to update latest SQL
- [ ] Add method to retrieve query history for a given Query
- [ ] Add endpoint/view to revert query to previous QueryRun state

<…abbreviated…>

## Principles

- **Preserve Existing Workflow**: Don't disrupt current query execution flow
- **Simple Interface**: Make history access intuitive and non-intrusive
- **Performance**: Ensure history lookup doesn't slow down query execution
<…abbreviated…>
We then review this file and discuss changes as needed with Claude. We don’t start coding before we’re happy with the TASKS.md file.
3. Implement it
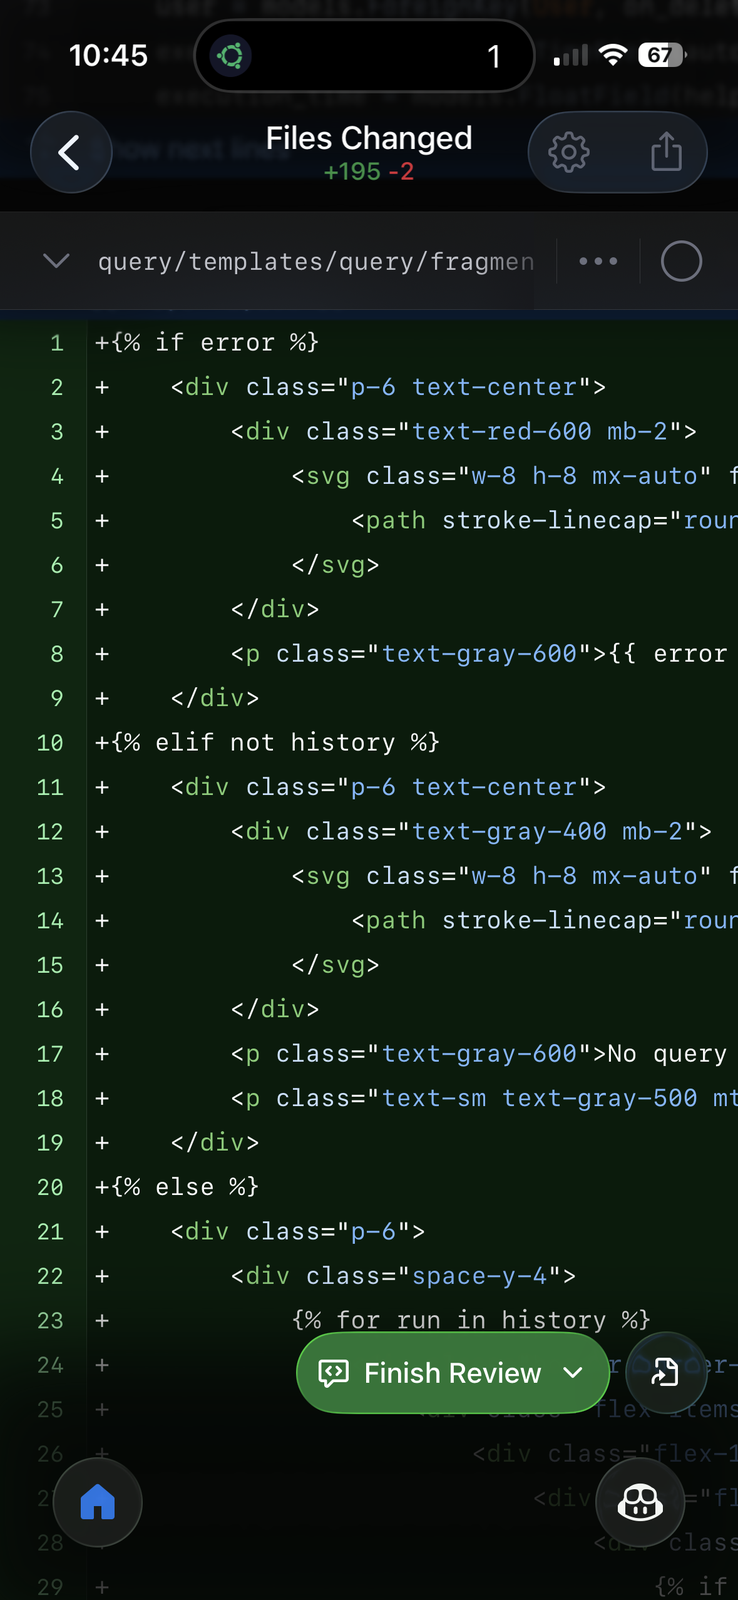
Once TASK.md is ready, getting started with coding is simple. I always have Claude work in a branch and create a PR in the end, so that I can review and modify the full change before shipping it. The AI coding is good but almost always has flaws. I’ve prevented several large issues with a quick and simple PR review.
I use the Github iOS App for PR reviews. Claude creates a nice summary and pushes all changes for me to conveniently review.
Optionally, you can tell Claude to only implement through a certain milestone, then pause. This gives you a chance to do an interim PR review and course correct early.
Start implementing the changes outlined in TASKS.md. Work in a new branch and create a PR in the end.
Stop at milestone 3 so that I can review the work so far.
4. Ship it
Once the PR looks good, tell Claude to merge the PR, delete the branch, and deploy. Make sure to test the change end-to-end in the browser and make final changes with Claude as needed.
Vibeservering Tips and Tricks
Git commit often Instruct Claude or Coded to commit after each change, so that you can revert back anytime. Any new AI change has the potential to cause major headaches. Commit often!
Give the AI concrete, small pieces of work Coding agents are great at executing clear instructions. But the can’t really read your mind yet. Let Claude first break down your work into small, well defined pieces. Then execute them step by step and review the implementation frequently.
Monitor Your App
Give the AI access to all your logging tools and files. This allows you to simply ask the AI to check the logs and fix, like this: User had 500 error. Check logs and deploy fix. One line, problem solved.
When not to Vibeserver
Shipping code without a laptop is awesome when you’re on the go or otherwise don’t have access to a desktop machine. However, it of course isn’t always a great choice. Here are some situations which likely aren’t a great fit for vibeservering:
- You’re working on a team (use proper git workflow)
- Your app requires highly reliable production code
- You can’t afford app downtimes
- You’re making major architectural changes
Generally, vibeservering works well for starting new projects, prototyping, or shipping small fixes and changes. For monetized production projects, I would only vibeserver in a staging environment.
Getting Started with Vibeserver Today
Try it out now, it’s really simple to set up. Get a VPS, load your SSH credentials into Termius, and run Claude on your server. Let’s go!
The freedom to fix bugs and ship features from literally anywhere is game-changing for indie developers.